Best DIY Nail Care Routine to Save Money and Time
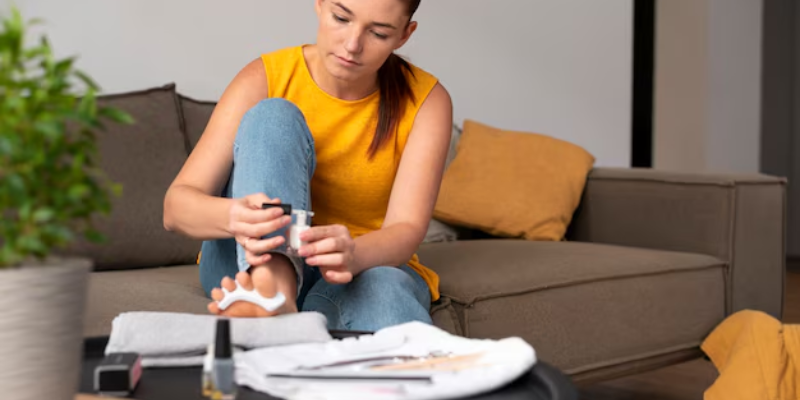
Do you also feel a sudden urge to take care of yourself (particularly your nails) but also want to save money by not going to a salon? That's the case for every other girl trying to save some bucks but keeping up the self-care level. But don't worry; you have landed the right place to start doing the DIY nail care routine.
We have seen so many girls struggle with treating their nails correctly at home. That's why we have chosen the easiest DIY steps you can do effortlessly at home and get results like a salon.
If this has sparked your interest, follow the guide below and know what can be done at home!
Tools You’ll Need For Nail Care at Home
You need some nail tools to start prepping your nails for the home manicure. Some of these tools are:
• Nail clippers
• Nail buffer
• Emery board
• Cuticle remover
• DIY Steps for Nail Care Routine
After collecting all these essentials, you must start prepping your nails for a home/DIY nail manicure. The steps for a DIY nail care routine are as follows:
1. Remove The Old Nail Paint
Removing any previously applied nail polish is an essential first step in a DIY nail care routine. It ensures that your nails are clean and free from any old residue that could interfere with applying new polish or any treatments you plan to use.
Old nail polish can chip, causing cracks and breaks in the polish layer, which may harm the nail bed. Removing it allows your nails to breathe and avoids any buildup of harmful chemicals.

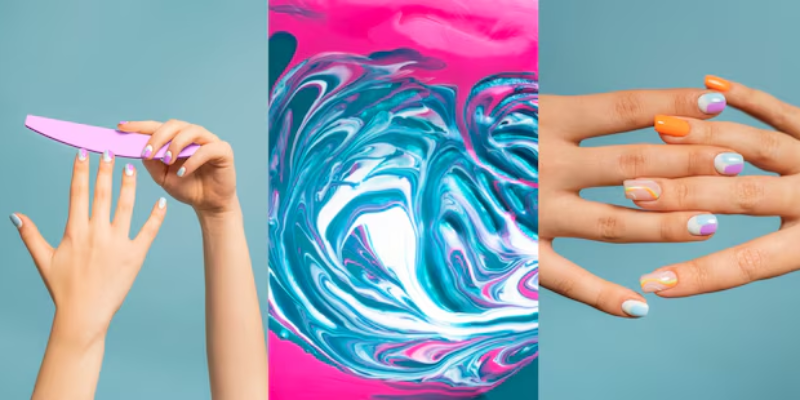
2. Sculpt Your Nails
Use a good-quality nail file to carefully shape your nails by gliding the file from the side towards the centre in smooth, even strokes. Always file in one direction to avoid splits, as filing back and forth can cause damage.
This step isn't just about aesthetics and maintaining firm nail edges to prevent snags and tears. Whether you prefer square, round, or oval nails, shaping them properly helps keep them neat, healthy, and strong, reducing the risk of breakage.
3. Buff Your Nails
Once you've properly shaped your nails, use a nail buffer to gently buff the surface of each nail in light, circular motions. Avoid pressing too hard, as this can damage the nail. Buffing not only enhances the appearance of your nails but also promotes better polish adhesion by creating a smooth surface. It’s a simple step that boosts nail health, making them look cleaner and shinier without any added products.
4. Soak Your Hands For a Bit
Place your hands in a bowl of warm water, ensuring it's not too hot. Add a small amount of gentle face cleanser or shampoo to the water. Soaking your cuticles before trimming softens them, making the process easier. However, it's important not to wash too long, as excessive moisture can harm your nails and skin.
Limit the soak to about three minutes to get the benefits without overdoing it. This step helps prepare your cuticles for trimming while avoiding damage to your nails or skin.
5. Use The Cuticle Remover
After soaking, use a cuticle remover to help loosen any dead skin around the nail bed. Apply a small amount to the cuticle area and gently massage it. Let it sit for a few moments to soften the cuticles further. Once the remover has had time to work, use a wooden stick or cuticle pusher to gently push back the cuticles.
Avoid cutting them, as this can lead to damage or infection. A cuticle remover makes the process smoother and helps maintain clean, healthy nails by removing excess skin without harsh tools.

6. Moisturize The Hands
It's time to moisturize your hands when that has worked on your nails and cuticles. Apply a generous amount of hand cream or lotion, massaging it into your hands, nails, and cuticles. Moisturizing helps restore hydration, keeping your skin soft and preventing dryness, especially after using products like cuticle removers or nail polish removers.
Pay extra attention to the cuticle area and the sides of your nails, as they can become dry and cracked. This step nourishes your skin and keeps your nails healthy, promoting overall hand care and a smooth, hydrated appearance.
7. Give Your Hands a Massage
Giving your hands a massage is a significant next step to relax and further nourish your skin. Rub a small amount of hand cream or oil between your palms to warm it up. Gently massage your hands, starting from the wrists and working up to the fingers. Use circular motions on the palms and knead the muscles of your fingers and wrists. This helps increase blood flow, relieves tension, and promotes relaxation.
8. Apply Your Favourite Nail Paint
The final step is applying your favourite nail polish. Start by applying a thin layer of base coat to protect your nails and create a smooth surface for the polish. Once the base coat is dry, apply two thin coats of your chosen nail paint, allowing each layer to dry before applying the next. This ensures a clean, even finish.
Afterwards, you can use a topcoat for extra shine to help the polish last longer. Take time with this step to ensure a flawless look, and let your nails dry thoroughly to avoid smudging.
Start Your Home Manicure from Now
Now that you know the steps, it’s time to start your home manicure routine. Taking the time to care for your nails at home can be a relaxing and rewarding experience, and it helps keep your nails healthy and polished without the need for salon visits. With a few simple tools and some self-care, you can enjoy beautiful, well-maintained nails all the time.